CHAPTER 02
Creating your first project
From project creation to viewing the first imported assemblies.
To create a project in Fabbim, you need a company administrator account.
Would you like to try Fabbim on your first project? Contact us using the form or email us at info@fabbim.com to request a free trial.
1. Start creating a project
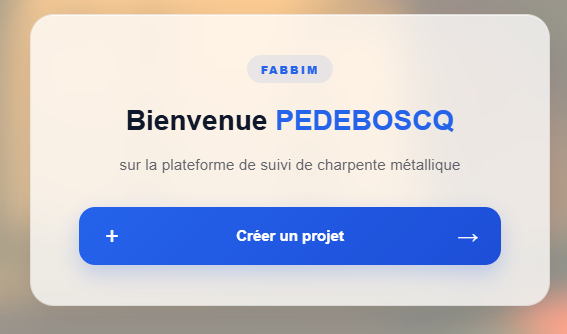
Once signed in, the home screen welcomes you and displays a button Create a project.
- Sign in to your Fabbim account.
- On the home screen, click Create a project.
2. Enter the project name and reference
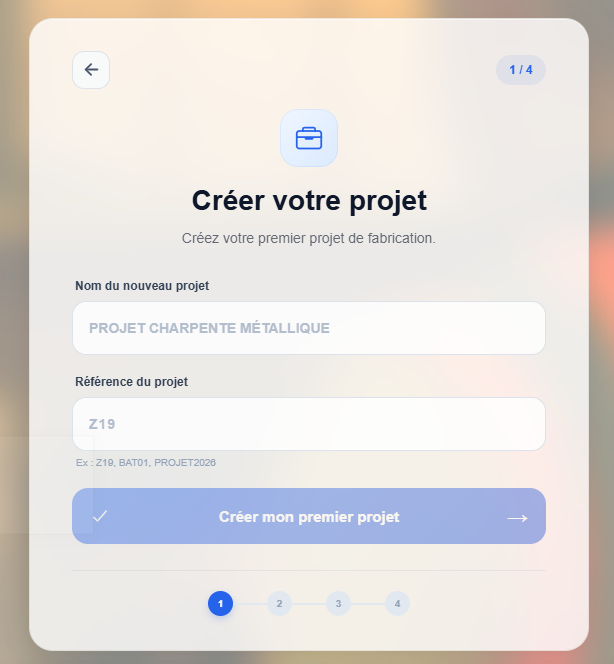
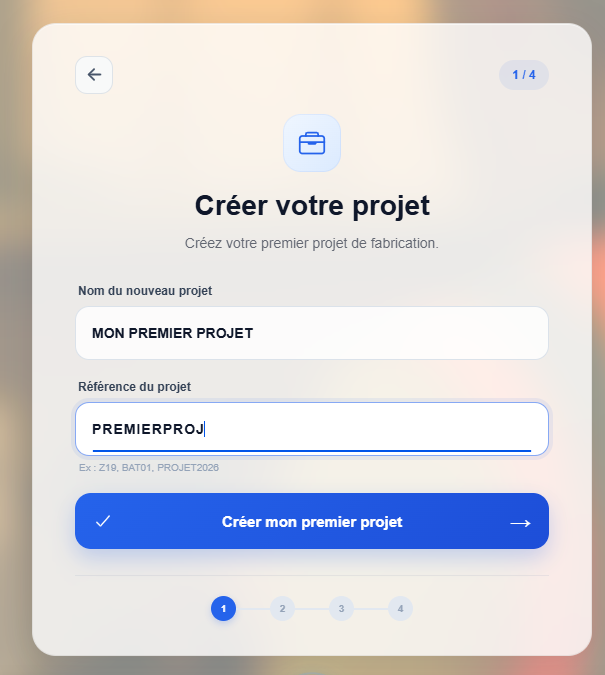
Fabbim opens the first step of the creation wizard.
- Enter the new project name.
- Enter the project reference.
- Click Create my first project.
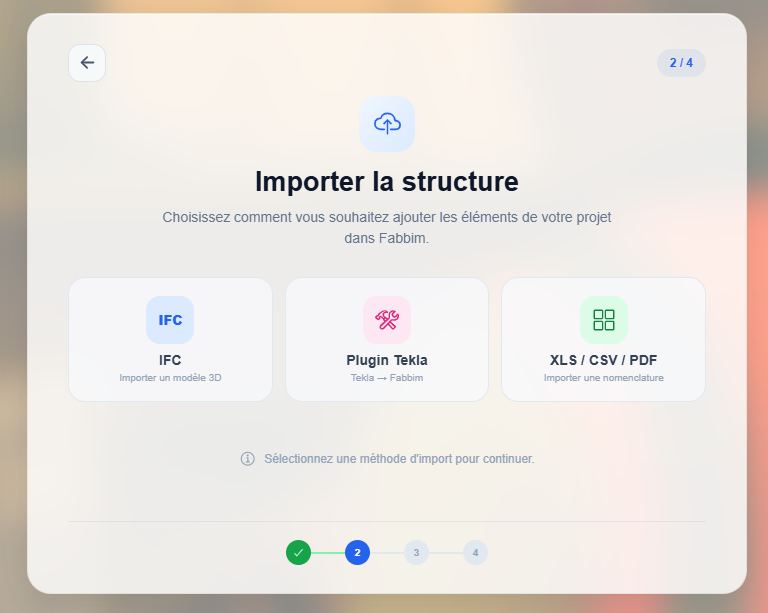
3. Choose an import method
The second step lets you choose how to add project elements to Fabbim.
- Choose IFC to import a 3D model.
- Choose Tekla plugin if you use Tekla.
- Choose XLS / CSV / PDF to import a bill of materials.
4. Import an IFC file
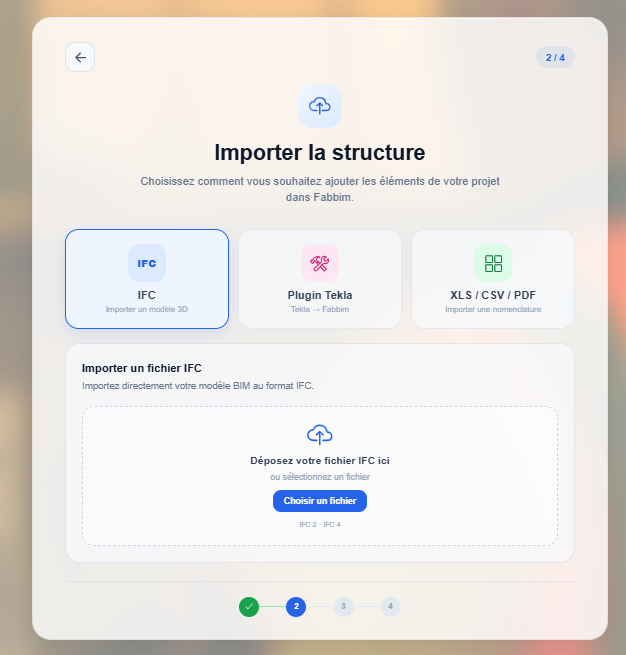
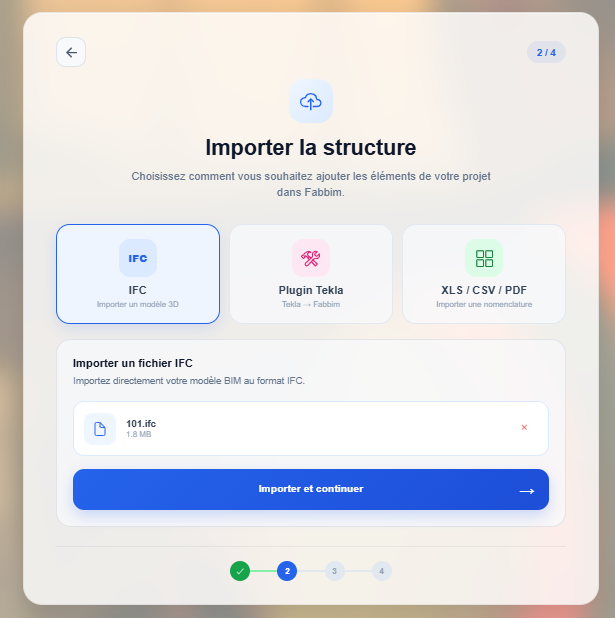
In this example, the import uses an IFC file.
- Select the option IFC.
- Add your IFC file.
- Click Import and continue.
5. Prepare labels and select parts
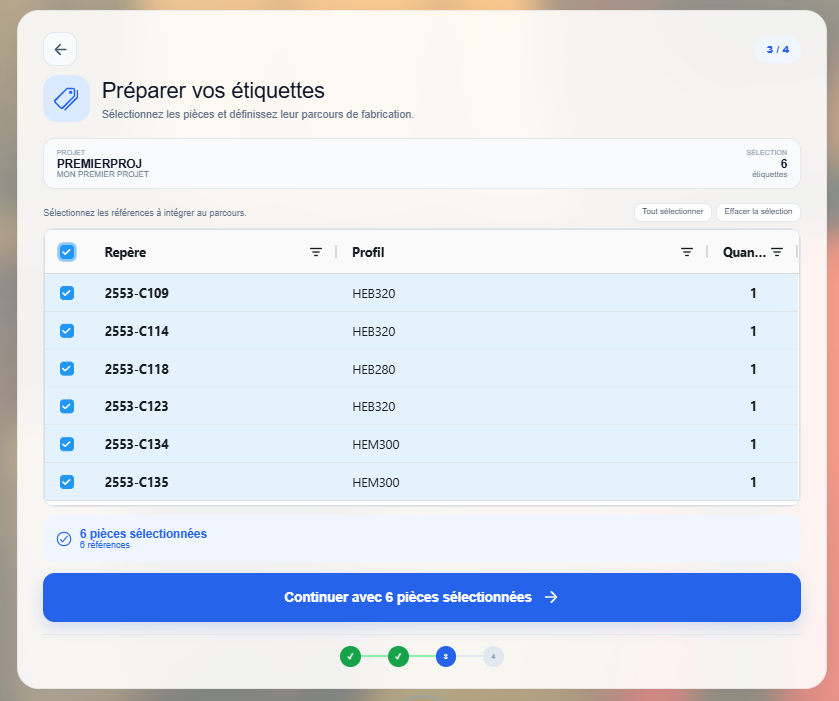
After analysis, Fabbim displays the references to include in the project.
- Check the list of detected parts.
- Select the references to include.
- Click Continue with selected parts.
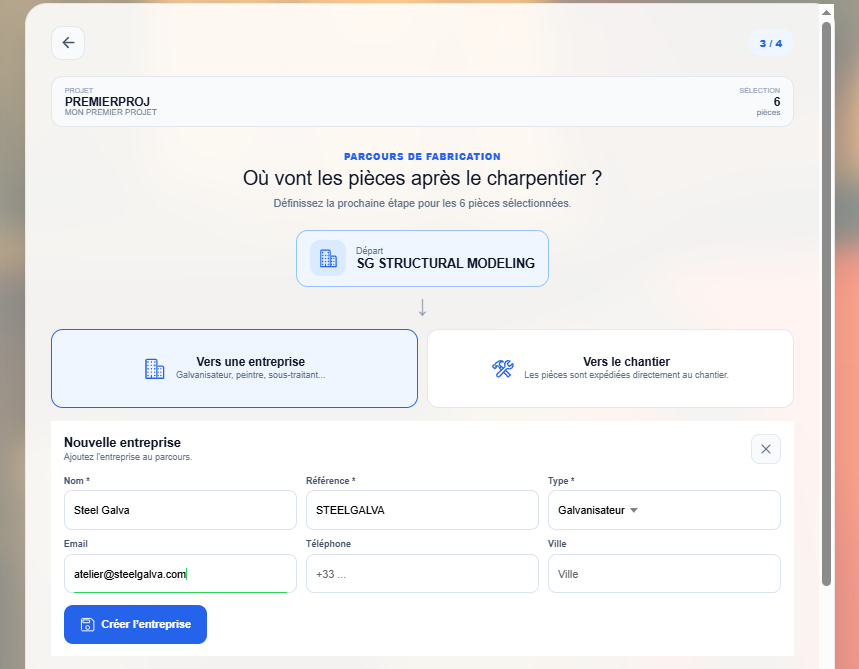
6. Define the fabrication route
You can then specify where the parts go after leaving the steel fabricator.
- Choose the next destination: the construction site or another company.
- In this example, the option To a company is used.
- Enter the new company to add to the route.
- Click Create company.
7. Project created: view the first assemblies
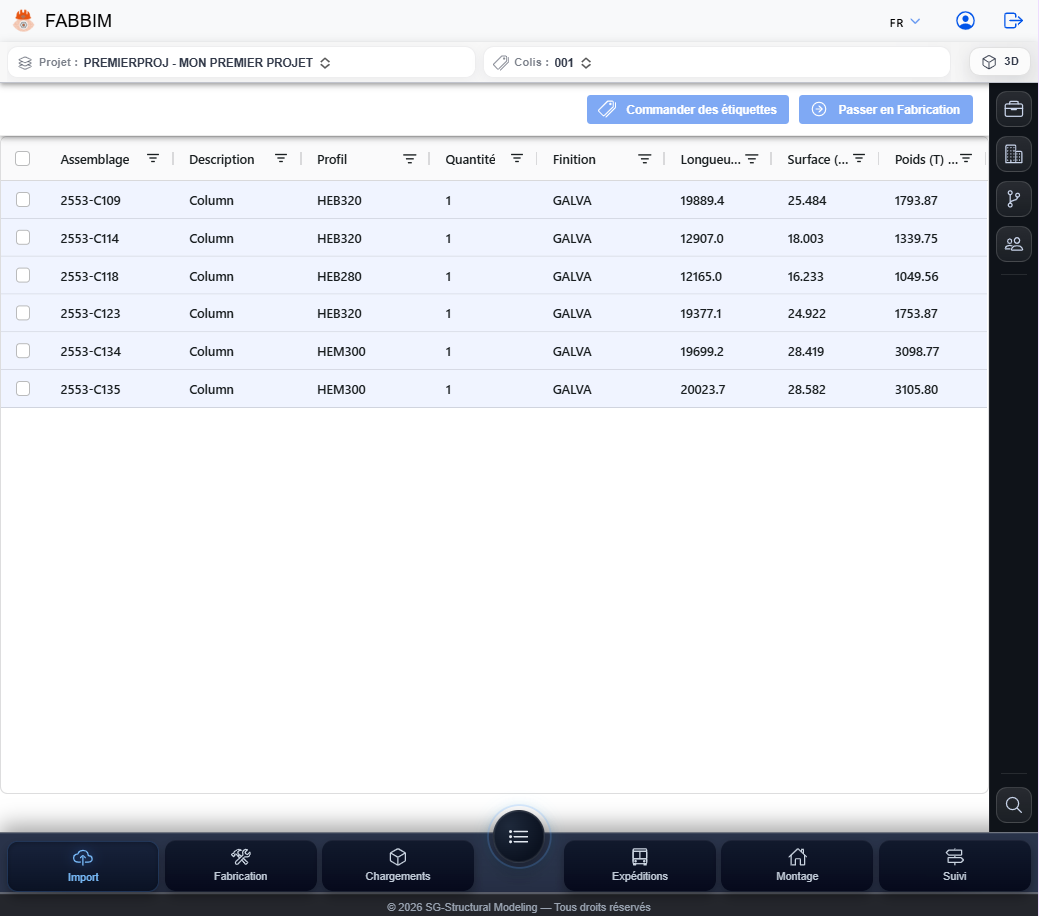
Once the route is defined, the project is created and the imported assemblies appear in the interface.
- View the project's assembly list.
- Check the main details: section, quantity, finish, length, surface area and weight.
- Then use the available actions to order labels or move on to fabrication.